Install BlenderFDS
This page describes how to set up your BlenderFDS installation as a Blender addon.
Table of contents
Software requirements
BlenderFDS is an addon that extends the Blender application and produces input files for the NIST Fire Dynamics Simulator (FDS) tool.
Being so specific in scope, the BlenderFDS addon is not distributed with the official Blender bundle. So to begin using this plugin, you need to download, install, and enable the latest released version as follows.
First, install the Blender application on your computer, as explained in the relevant Blender documentation.
Then install the FDS bundle on your computer, as described in its User’s Guide.
The latest BlenderFDS addon version is tested with specific software versions, other versions may not work properly. Please check the required versions in the release notes.
Install a stable version
If you want to work on a stable, well checked version of BlenderFDS, follow the next steps.
Step 1: Download the plugin
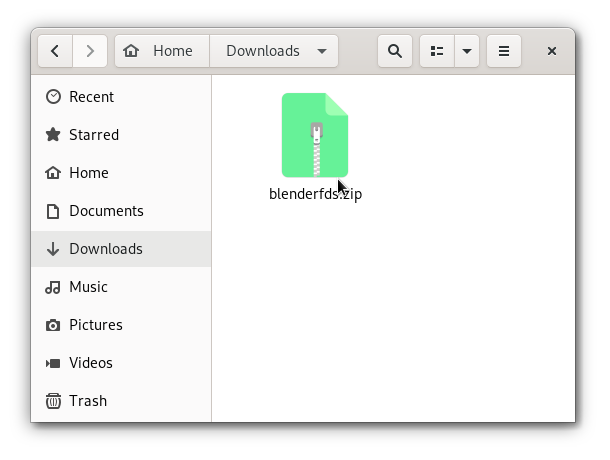
Go to the release page and click on the blenderfds.zip package of the latest release.
The release zipped file is downloaded to your computer.
Step 2: Install and enable the addon
To install the just downloaded release:
- launch Blender;
- open the
Preferencespanel by clicking on theEdit > Preferencesmenu; - select the
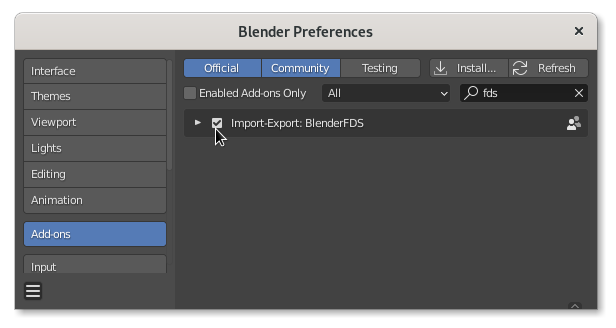
Add-onssection in thePreferencespanel; - click on the
Installbutton and use the file browser to select theblenderfds.zipyou downloaded in the previous step; - enable the BlenderFDS addon by checking the box to the left;
The BlenderFDS functionality should become immediately available.
If the addon does not activate, check the console window for any errors that may have occurred. In this case, please file an issue on the issue tracker.
Step 3: Post install setup
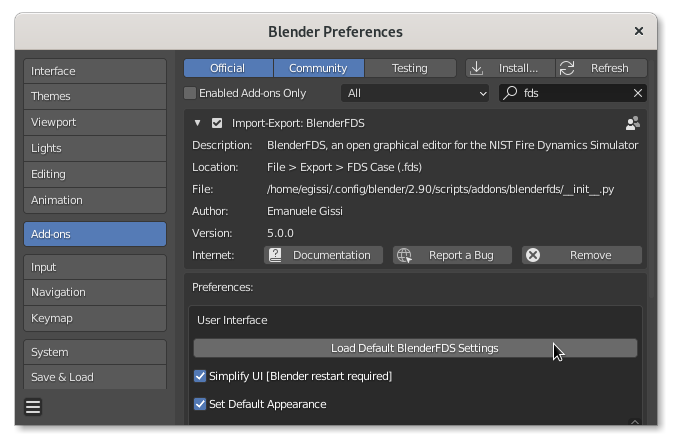
By clicking on the arrow at the left of the addon in the Preferences > Add-ons panel, you can see the relevant information and links. In the same section, you find the BlenderFDS preferences.
Click on the Load Default BlenderFDS Settings button to complete the setup.
Install a live development version
If you want to stay on the edge of development to test brand new features, instead of installing a stable version, you can clone the firetools/blenderfds repository to your local Blender addons folder. Beware that you need to be Git savvy to install a live development version.
Step 1: Find the right location
This Blender documentation page specifies the default directories for Blender application and settings, depending on the operating system.
For example, the user’s addons are currently stored in:
- on Linux:
$HOME/.config/blender/2.92/script/addons/(in my case the$HOMEvariable contains the/home/egissi/directory) - on macOS:
/Users/$USER/Library/Application Support/Blender/2.92/script/addons/ - on Windows:
%USERPROFILE%\AppData\Roaming\Blender Foundation\Blender\2.92\script\addons\
This addons directory is the right location for the clone of the firetools/blenderfds repository.
Note that, if installing the first addon yourself, you may need to create the addons directory and its tree.
Step 2: Clone the repo and enable the addon
Next, with the Git tool already installed, get into your addons directory and clone the blenderfds repository as follows:
$ cd ~/Library/ApplicationSupport/Blender/2.90/scripts/addons/
$ git clone git@github.com:firetools/blenderfds.git
To enable the just cloned addon:
- launch Blender;
- open the
Preferencespanel by clicking on theEdit > Preferencesmenu; - select the
Add-onssection in thePreferencespanel; - search and enable the BlenderFDS addon by checking the box to the right;
The BlenderFDS functionality should become immediately available.
If the addon does not activate, check the console window for any errors that may have occurred. In this case, please file an issue on the issue tracker.
Step 3: Post install setup
Do what is described in step 3 of the previous paragraph to setup the addon.
